 Mar 20, 2026
 AI Targeted Edit: Change Just the Stone, the Band, or the Setting
The most frustrating thing about AI image editing in early tools was the lack of precision. You loved 90% of a generated design — the band, the proportions, the metal finish — and you wanted to change just the stone shape. So you wrote a prompt describing what you wanted and the AI regenerated the whole thing. Sometimes it got the stone right. Usually it drifted on something else you cared about in the process.
Targeted Edit solves this. You draw directly on the design to mark the area you want changed, describe only that change, and everything outside the selection stays exactly as it was.
How it works
Open Targeted Edit from the Design menu. The canvas switches to selection mode, where you draw a freehand lasso around the region you want to modify. The lasso can be as tight or as loose as you need — draw tightly around just the center stone if that's all you're changing, or draw a broader area around the entire setting if you want to rework the prongs and basket together.
Once you've closed the selection, type your edit description in the prompt bar. Be specific about what you want within that region — "marquise-cut diamond, east-west orientation" or "hidden halo setting with single row of round pavé stones" or "smooth comfort-fit band with milgrain edge detail." The AI applies the change within the lasso boundary and blends the result back into the original image at the edges.
The output is added as a new variation in your project, so the original is never overwritten. You can run multiple targeted edits from the same base image, building up a set of variations that each change a different element.
Quality controls
Targeted Edit has a five-level quality control that trades generation speed for output fidelity: Very Fast, Fast, Standard, High, and Very High.
For quick exploration — trying five different stone shapes to see which proportion works best — Very Fast gives you results in seconds and the quality is sufficient to make a directional decision. For a variation that's going into a client catalog or an annotation review, High or Very High produces the level of detail and edge blending that holds up to close inspection.
Running at lower quality first and then re-running at higher quality on the result you want is a practical workflow. It keeps the exploratory phase fast and saves the compute for the final version.
What it's actually useful for
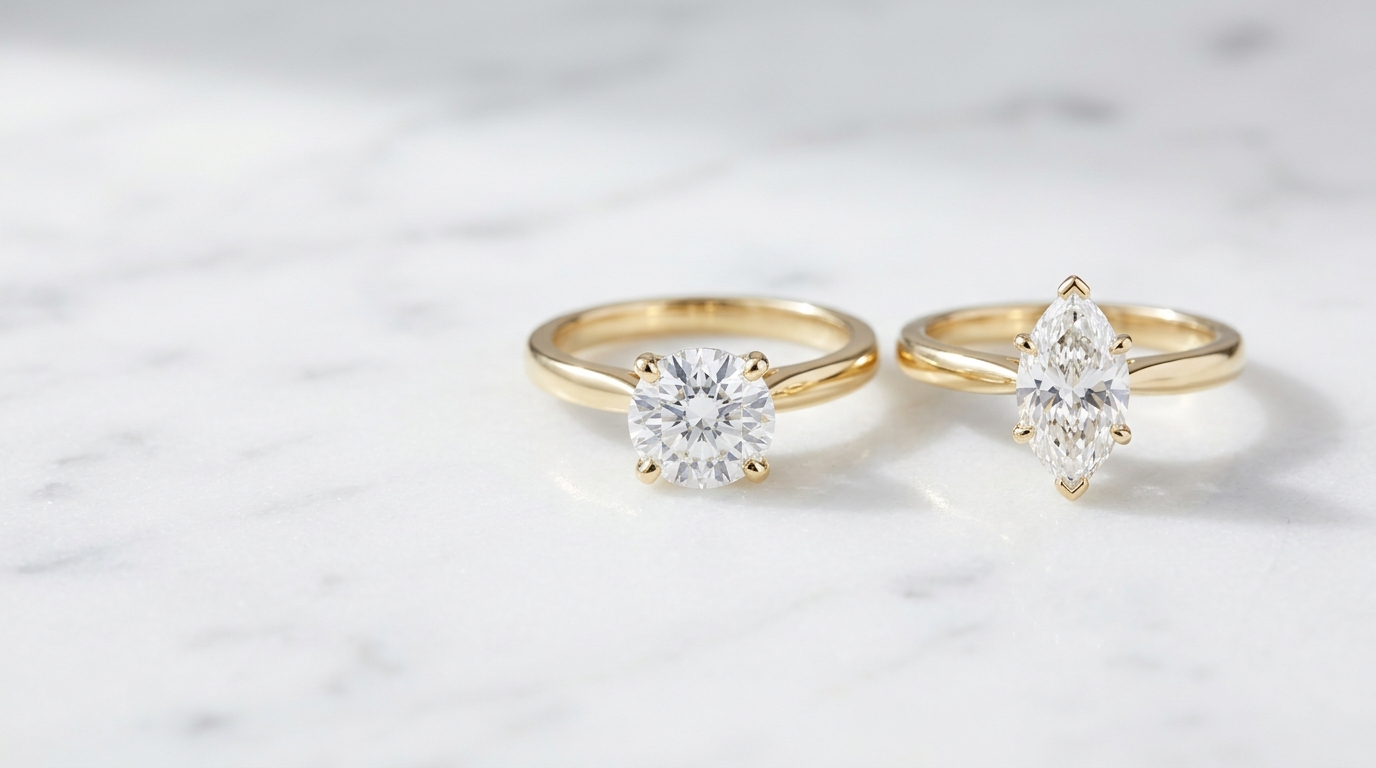
Stone substitutions are the most common use case. A design is approved in round brilliant, and a client wants to see the same ring with an oval, a pear, and a cushion. Draw the lasso around the center stone for each run, specify the shape, done. Three variations in three generations, all sharing the same band and setting.
Setting changes are equally well-suited to Targeted Edit. If you want to compare a four-prong to a six-prong setting on the same ring, or try a bezel set version alongside a prong set, the lasso goes around the setting area and your prompt describes the alternative.
Band modifications work well too — adding pavé to a plain band, switching from a flat to a knife-edge profile, adding milgrain to an otherwise modern design. The lasso covers the band and leaves the stone and setting untouched.
The tool is less reliable when the change you're making requires understanding the three-dimensional form of the piece — like changing the depth of a bezel or the angle of a prong. Those edits work best when the design image has a clear viewpoint that shows the area in question. An ambiguous angle makes the AI's interpretation less predictable.
Using Targeted Edit alongside Compare Variations
A natural partner to Targeted Edit is the Compare Variations tool in the Design menu. Once you've run several targeted edits — three stone shape options, two band profiles — you can open the side-by-side comparison view, select any two variations, and drag a wipe divider to directly compare them.
This is useful for decision-making with a client in the room. You generate the alternatives quickly with Targeted Edit, then use the comparison wipe to show the differences clearly. The wipe can be controlled with arrow keys for fine-grained positioning, so you can pause on exactly the area of the design where the change is most visible.
The combination of rapid targeted variations and direct side-by-side comparison shortens the client decision cycle significantly. Instead of a client leaving a meeting with three designs to "think about," you work through the comparison together and arrive at a decision before the meeting ends.
Multiple Angles after a targeted edit
Once you've settled on a targeted edit result, Multiple Angles lets you generate the same design from different camera positions — front, side, three-quarter, top — without changing anything about the design itself.
This is useful when the targeted edit produced a result you're happy with from one angle, but you need to show the client what the new stone shape looks like from the side, or how the revised band profile reads from above. Run Multiple Angles from the result variation and you have a full set of views without any additional editing.
The practical sequence for many projects ends up being: generate the base design, use Targeted Edit to refine the specific elements the client wants to adjust, compare the variations side by side to arrive at a final direction, then run Multiple Angles on the chosen result to build out a full view set before adding to the catalog.
Recent Posts
Jewelry Price Book: How to Set Org-Wide Gem Rates and Match Diamond Inventory
Studio's Price Book lets admins set org-wide gem rates once, feeding every AI pricing estimate automatically, while the Diamond Inventory Matcher checks stock against a design's specs before you quote a client.
AI Gemstone Jewelry Design: How to Generate Sapphire, Ruby, and Emerald Pieces That Look Real
Colored gemstones render very differently than diamonds. Here's the specific prompting, spec-locking, and pricing workflow for getting sapphire, ruby, emerald, and pearl jewelry to look convincing in Diatech Studio.
AI Jewelry Design Draft Quality: How to Iterate Faster Without Wasting Credits
Studio's Auto tool now has a Draft quality tier for AI jewelry design, a faster, lower-cost setting built for early concept exploration before you commit credits to a polished render.