 May 7, 2026
 From AI Render to Social Post: How Studio's Canva Integration Works
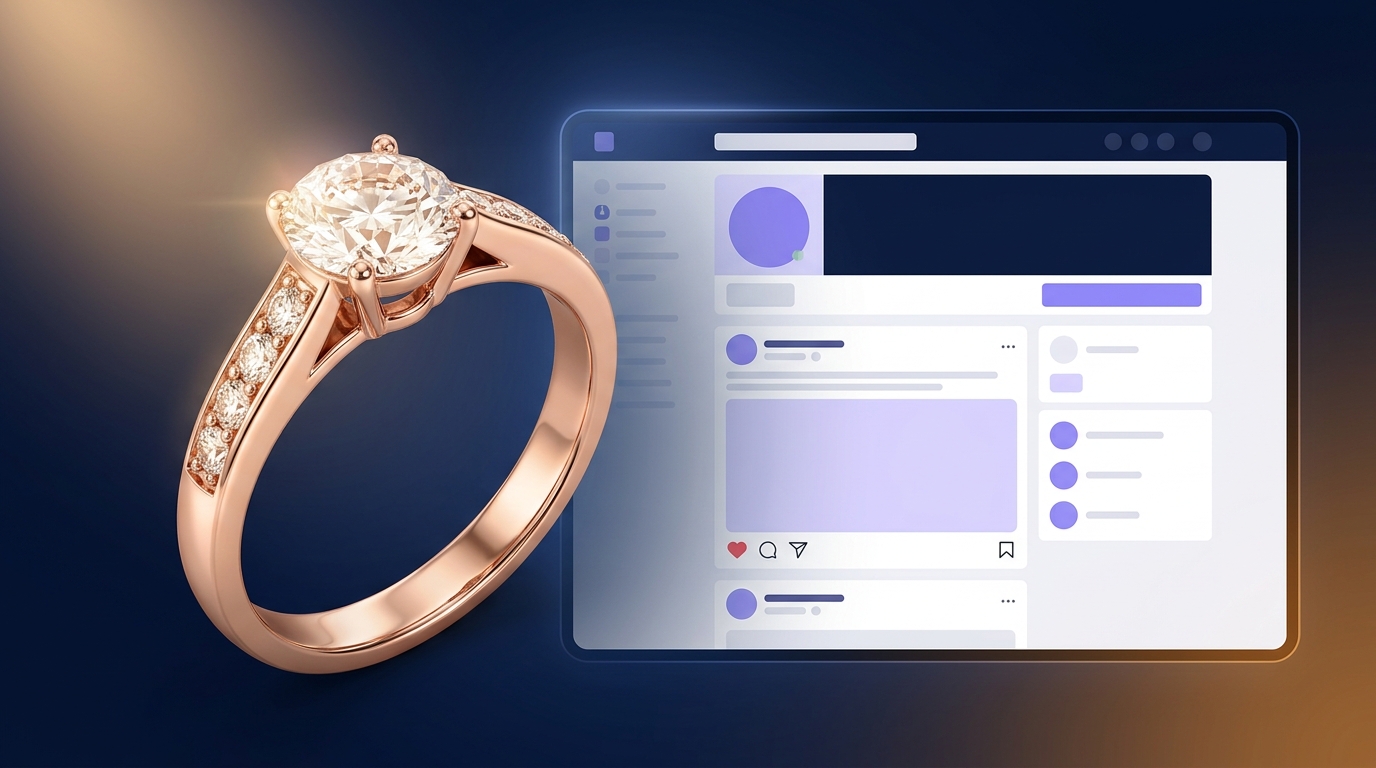
If you've been using Diatech Studio to generate jewelry renders, you've probably hit the same wall: the design looks great, but getting it into Canva for a social post or a pitch deck means downloading, uploading, resizing, and cleaning up backgrounds. It's not hard, just tedious, and it breaks your momentum right when you're in a creative flow.
Studio's Canva integration closes that loop in one click. From the Asset menu in any project, you can push the currently selected image or video straight into Canva without touching your file system.
What Actually Happens When You Click "Open in Canva"
Studio uploads your selected asset to Canva and opens it in a new browser tab as a fresh design, already loaded at full resolution and ready to work with. If you're pushing a still image, it opens as a Canva poster. If you're working with a product video generated through the Videography tool, it opens as a Canva video design.
No file picker. No format conversion dialog. No hunting for the download in your browser's downloads folder. You're just in Canva, with your jewelry render already there.
This matters more than it sounds. The friction of the download-upload cycle doesn't just cost time. It costs focus. Every time you leave the workspace to wrangle files, you lose the thread of what you were trying to make. The Canva integration keeps you inside a single creative session from AI render to finished marketing asset.
Two Paths: Images and Videos
Still images arrive in Canva as a poster canvas with your render placed on it. The typical moves from there:
- Add your brand name, a tagline, or a short product description
- Layer in a price point or stone spec if you're building a catalog slide or lookbook page
- Apply a background (a gradient, a texture, a lifestyle photo) behind a cutout image
- Resize for your target platform: square for Instagram, portrait for Stories, landscape for Pinterest
If you run Remove Background on the image in Studio first, you land in Canva with a clean cutout. No Canva background remover needed, no selection tools, no fussing with edges.
Videos open as a Canva video design. You can add captions, drop in a brand watermark, adjust the timing, and export for Reels or Stories without opening a separate video editor. If you used Studio's audio-enabled video option (5, 10, or 15 seconds with audio), the audio track comes with it, so you can go straight to export after adding text overlays.
The Less Obvious Direction: Canva PDF Import
There's also a flow the other way that most people miss. Studio's File menu includes a Canva PDF import option. Paste in a PDF file and Studio pushes it directly into Canva as an editable design, with each page becoming its own Canva slide.
In practice this is useful when a client sends a reference lookbook, a supplier shares a catalog PDF, or you have a mood board you want to work from. Instead of visiting the Canva website separately to import it, you can do it right from your Studio workspace. Minor, but genuinely useful if you've ever lost ten minutes just getting a file into the right place before starting work.
A 15-Minute AI Jewelry Design Canva Workflow
Here's what this looks like when you put it together:
- Generate the design in Studio using Auto mode at 2K quality, with a detailed prompt specifying the stone, metal, and setting.
- Run Remove Background to get a clean cutout on a transparent background.
- Select "Open in Canva" from the Design menu.
- In Canva: add a gradient background, drop in the brand name and a caption line, export as a 1080x1080 square for Instagram.
That's four steps. The whole sequence (generation, background removal, Canva polish, export) runs in about 15 minutes once you've done it once. The traditional path for the same result takes photoshoot scheduling, Photoshop background removal, file exports, Canva uploads, and layout from scratch. Easily half a day.
What Canva Still Handles
The Studio-to-Canva flow isn't a replacement for Canva's design work. It gives you a better starting asset. Studio handles the AI render, any background removal, and post-production cleanup. Canva handles:
- Brand typography and color system via its Brand Kit
- Social media format templates and proportions
- Multi-image slide layouts for lookbooks or buyer presentations
- Marketing copy, which you can pull from Studio's Generate Copy feature if you've already run that on the design
The combination works well because neither tool is trying to do what the other does. Studio is purpose-built for jewelry: it understands metal finishes, stone settings, and design iteration in ways that general AI design tools don't. Canva is purpose-built for layout, branding, and publishing. Using them together rather than forcing one to cover both jobs produces cleaner results faster.
Getting Started
The integration is already available in Studio, no extra setup or connection step required. Open any project, select the design you want to work with, and look for Open in Canva in the Design menu. Try it with a design that's already polished: run background removal first, then open it in Canva and see how far you can get in a single session.
The time you'd otherwise spend on file handling is time you can put toward the next design, or toward actually shipping the content you've been meaning to create.
Recent Posts
Lab-Grown Diamond Jewelry Design: How to Generate, Specify, and Price LGD Pieces
Lab-grown diamonds now account for a significant share of jewelry sales, but the workflow for designing, specifying, and pricing LGD pieces with AI has never been well-documented. Here's the full cycle in Diatech Studio — from generating renders to setting up LGD rates in your Price Book and checking inventory before you quote.
Jewelry Video Background Removal: How to Turn Any Product Clip Into a Scene-Ready Asset
Most jewelry product videos have their background baked in from the start — making them hard to reuse across different website themes, ad templates, and social formats. Studio's Matte Video tool strips any jewelry video background in one step, giving you clean isolated footage you can drop into any scene without a video editor.
Jewelry Product Videos With Audio: How to Go From Still Image to Social-Ready Clip in One Step
Most jewelers use multiple tools to get a scored, ready-to-post product video. Studio's Videography tool lets you pick duration and audio together in one submission — no separate music step, no timeline editing. Here's how to use it and where it fits into a practical jewelry marketing workflow.