 Feb 22, 2026
 Jewelry Lifestyle Photography With AI: No Photoshoot Required
Product photography for jewelry is expensive in a very specific way. It's not just the photographer's day rate. It's the model, the stylist, the studio hire, the lighting setup, the post-production, the re-shoot when the client changes the stone shape after you've already wrapped. A proper lifestyle campaign for a mid-size collection can run tens of thousands before you've sold a single piece.
Most small and mid-size jewelry studios can't afford to do this for every SKU. So they end up with flat renders for 90% of their catalog and lifestyle shots for the hero pieces only. The rest of the collection looks like it's selling from a spec sheet.
AI changes this equation completely.
What "Place on Model" actually does
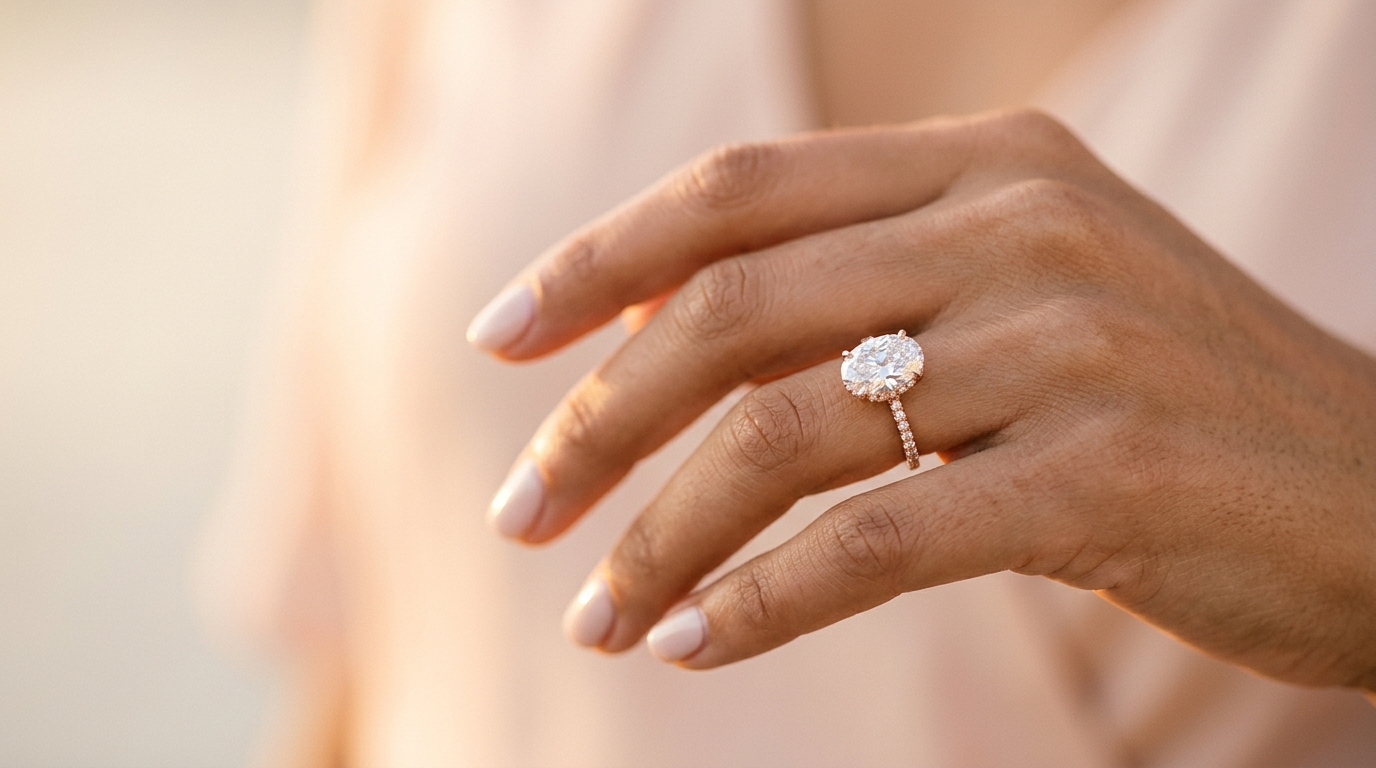
Diatech Studio's Place on Model tool takes a flat design image — a render, a generated image, even a photograph of a piece on a white background — and composites it onto a photograph of a model or hand in a way that looks like it was shot that way.
The result isn't a simple overlay. The AI accounts for the angle of the hand or body, the lighting direction in the original photo, and the shadows and reflections that would realistically exist if the piece were physically worn. A ring placed on a model's hand catches light from the same direction as the rest of the photograph. A necklace follows the natural fall of the neckline.
It takes a few seconds. And the output is ready for a product page, a catalog, or a social post.
What you need to run it
You need two things: a design image and a model photo.
The design image can be anything in your project — an AI-generated render, an upscaled image, a photograph of a physical piece you've scanned in. The cleaner the background and the sharper the piece, the better the placement result. Running Remove Background on your design image first tends to give cleaner output.
The model photo can be one you upload yourself or one selected from Studio's reference image library. For rings and bracelets, hand and wrist shots work best. For necklaces and pendants, a neckline or décolletage shot. For earrings, a portrait with the ear clearly visible.
Once you've selected both, the tool places the piece, handles the lighting and shadow blending, and adds the result as a new variation in your project. From there it goes through the same workflow as any other image — available for annotation, catalog addition, or export.
Diversity without additional shoots
One of the more significant practical advantages is that you can generate the same piece on models with different skin tones without booking multiple models.
For a wholesale catalog going to international buyers, this matters. A ring that photographs beautifully on fair skin can look completely different in terms of perceived metal color and stone contrast on deeper tones — and buyers want to see how it reads for their customer base.
In a traditional shoot, covering even three or four skin tone variations means multiple model bookings. With Place on Model, you run the same design image against different model reference photos and generate multiple variations in minutes.
Where it fits in the workflow
The most efficient way to use Place on Model is after your designs have been approved — not during the ideation phase. Use flat renders for the review and annotation cycle, get sign-off, then generate lifestyle imagery as the final step before catalog publication or client handoff.
The practical order looks something like this: generate the flat design, annotate and revise until the design is approved, run Remove Background to clean the edges, run Upscale Image to get to 4K resolution, then run Place on Model for lifestyle variants. Add all versions — flat, white background, lifestyle — to the catalog as variations of the same project, so buyers can toggle between them.
This keeps the review cycle fast (flat renders are quicker to generate and easier to annotate) while giving you publication-ready lifestyle assets at the end.
Product video from lifestyle imagery
One step further: once you have a lifestyle image you like, the Videography tool can take it and generate a short product video — 5, 10, or 15 seconds — with motion in the background, subtle fabric movement, or a gentle camera drift.
This is the equivalent of a social media campaign asset generated entirely from a flat AI render. No video crew, no model on set. The design image goes in, a shareable video clip comes out.
For brands posting to Instagram or being featured in digital lookbooks, this closes the last gap between "AI-generated design" and "production-ready marketing campaign."
The honest limitations
Place on Model works best with clean, well-lit design images. If your source render has a complex background, inconsistent lighting, or very fine details like micro-pavé that are partially blurred, the placement result will show those issues.
It also works better for some jewelry types than others. Rings and pendants tend to composite very naturally. Earrings require a clear ear placement in the model photo, and complex ear cuffs or climber styles can sometimes look slightly off at the point of contact with the skin. For those pieces, reviewing the result and running a targeted refinement is worth it.
And it is AI compositing — most clients and buyers understand this and accept lifestyle imagery generated this way for catalogs and social content. For hero campaign shots that will appear in print or premium editorial contexts, a real photoshoot is still the right call.
But for the 90% of your catalog that currently lives on a white background? Place on Model closes that gap without a single booking call.
Recent Posts
Jewelry Price Book: How to Set Org-Wide Gem Rates and Match Diamond Inventory
Studio's Price Book lets admins set org-wide gem rates once, feeding every AI pricing estimate automatically, while the Diamond Inventory Matcher checks stock against a design's specs before you quote a client.
AI Gemstone Jewelry Design: How to Generate Sapphire, Ruby, and Emerald Pieces That Look Real
Colored gemstones render very differently than diamonds. Here's the specific prompting, spec-locking, and pricing workflow for getting sapphire, ruby, emerald, and pearl jewelry to look convincing in Diatech Studio.
AI Jewelry Design Draft Quality: How to Iterate Faster Without Wasting Credits
Studio's Auto tool now has a Draft quality tier for AI jewelry design, a faster, lower-cost setting built for early concept exploration before you commit credits to a polished render.