 Feb 28, 2026
 The Moodboard Canvas: Exploring Multiple Jewelry Directions at Once
There's a moment in almost every jewelry design session where you have five or six directions worth exploring and no good way to look at them all at once. You click between variations, lose track of which was which, and end up describing them to yourself as "the third one" or "the one that looked more vintage." It's a small thing but it genuinely slows decisions down. Studio's Moodboard canvas is built specifically for that moment.
What the Moodboard Actually Is
Every Studio project has two canvas modes. The default single-image view shows one variation at a time with a thumbnail strip along the side. Switch to Moodboard mode and every design in the project lands on a shared free-form canvas as its own movable, resizable object.
You can drag images anywhere, resize them, layer them, and arrange them however helps you think. It's closer to pinning things to a wall than browsing a gallery. And for design work, that spatial arrangement matters. Seeing three rings at the same scale next to each other tells you something that flipping between them one at a time doesn't.
Comparing Directions Side by Side
The most obvious use is comparison. Generate four variations of a pendant design, switch to Moodboard, pull them into a row, and you've got an instant side-by-side view you can actually show someone.
This is where the resize control gets useful. You might want the two strongest directions large and centered, with the others smaller off to the side. Or you want everything the same size for a clean direct comparison. It's up to you because the canvas doesn't impose any grid or structure.
There's also a dedicated Compare Variations tool in the Design menu for a more controlled two-image wipe comparison. That's great for fine detail. The Moodboard is better when you're still figuring out which direction to pursue.
Using It for Client Presentations
The Moodboard doubles as a lightweight client presentation view. Arrange the designs the way you'd walk a client through them, open the project preview link (which works without a Studio account), and you've got a shareable view they can browse in their browser.
You can mix design variations with reference images, lifestyle renders, and inspiration photos on the same canvas. So instead of sending a client a folder of files, you send them a single link to a curated layout you've arranged to tell the story of a collection direction.
The canvas is also how you build presentations before exporting. Once you're happy with the layout, you can export selected images as a single composite file, or head into the Catalog Deck view for a more polished slideshow format.
Practical Canvas Tools Worth Knowing
A few features that make the moodboard actually fast to work with:
Multi-select lets you grab several images at once and move or resize them together. There's a numbered badge on each selected image so you always know the selection order clearly.
Layering controls let you bring an image to the front or send it to the back when things overlap. Useful when you're building a presentation layout with overlapping designs for visual effect.
Flip lets you mirror any image horizontally or vertically, which comes in handy more often than you'd expect when you're arranging earring pairs or symmetric designs.
Add Text lets you paste text blocks onto the canvas. Good for labeling design directions, adding collection names, or annotating a layout before sharing it.
Undo/Redo works across all canvas changes, so you can experiment with arrangements freely without worrying about losing a layout you liked.
When to Use Moodboard vs. Single-Image View
Single-image view is better when you're actively generating and iterating. The focused view with the prompt bar and sidebar is the right workspace for that.
Switch to Moodboard when you're shifting from making to deciding. When you want to assess what you have, find patterns across variations, pick a direction, or prepare something to share. It's a different mode of thinking and the canvas supports it in a way the scrollable thumbnail strip doesn't.
A lot of designers end up toggling between the two modes within a single session. Generate in single-image view, switch to Moodboard to survey the output, decide what to push further, switch back to generate. That rhythm works well.
Recent Posts
Jewelry Price Book: How to Set Org-Wide Gem Rates and Match Diamond Inventory
Studio's Price Book lets admins set org-wide gem rates once, feeding every AI pricing estimate automatically, while the Diamond Inventory Matcher checks stock against a design's specs before you quote a client.
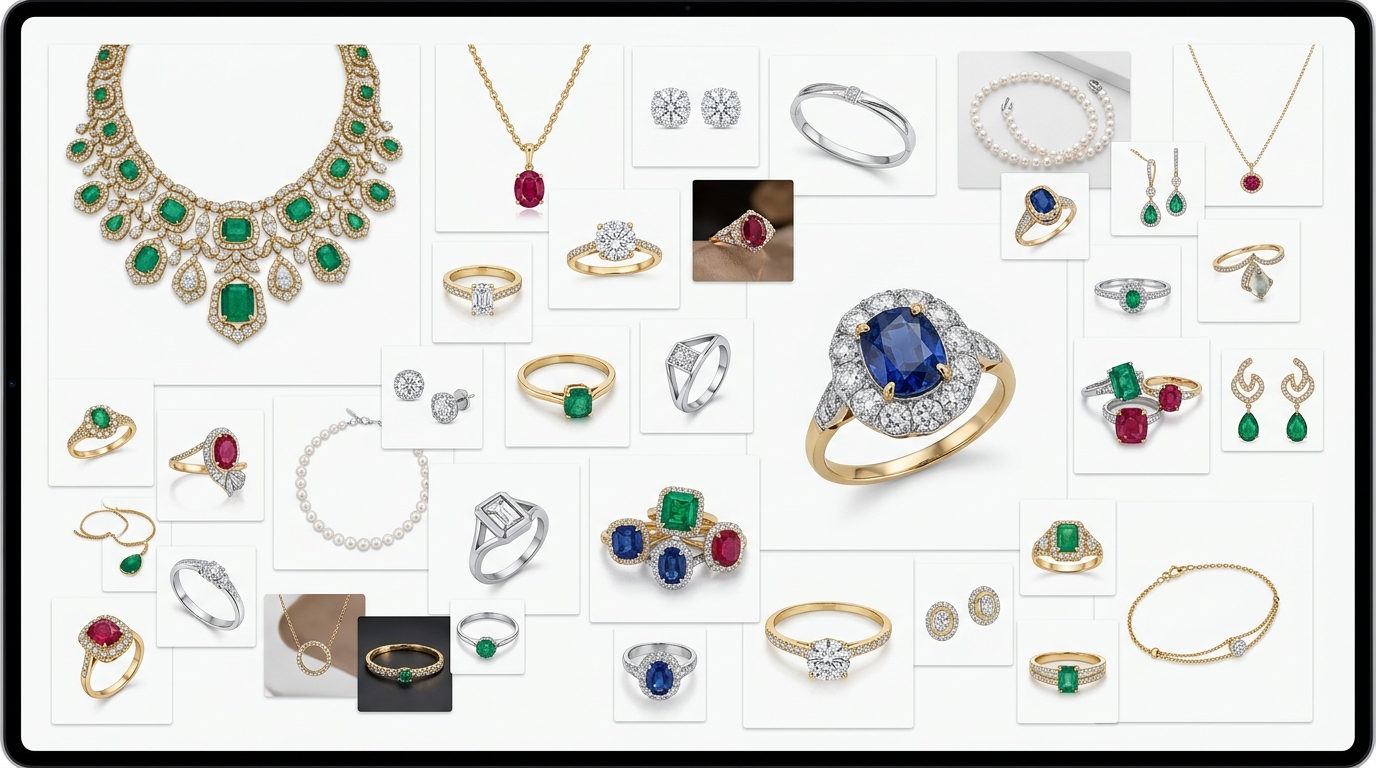
AI Gemstone Jewelry Design: How to Generate Sapphire, Ruby, and Emerald Pieces That Look Real
Colored gemstones render very differently than diamonds. Here's the specific prompting, spec-locking, and pricing workflow for getting sapphire, ruby, emerald, and pearl jewelry to look convincing in Diatech Studio.
AI Jewelry Design Draft Quality: How to Iterate Faster Without Wasting Credits
Studio's Auto tool now has a Draft quality tier for AI jewelry design, a faster, lower-cost setting built for early concept exploration before you commit credits to a polished render.