AI Jewelry Design Draft Quality: How to Iterate Faster Without Wasting Credits
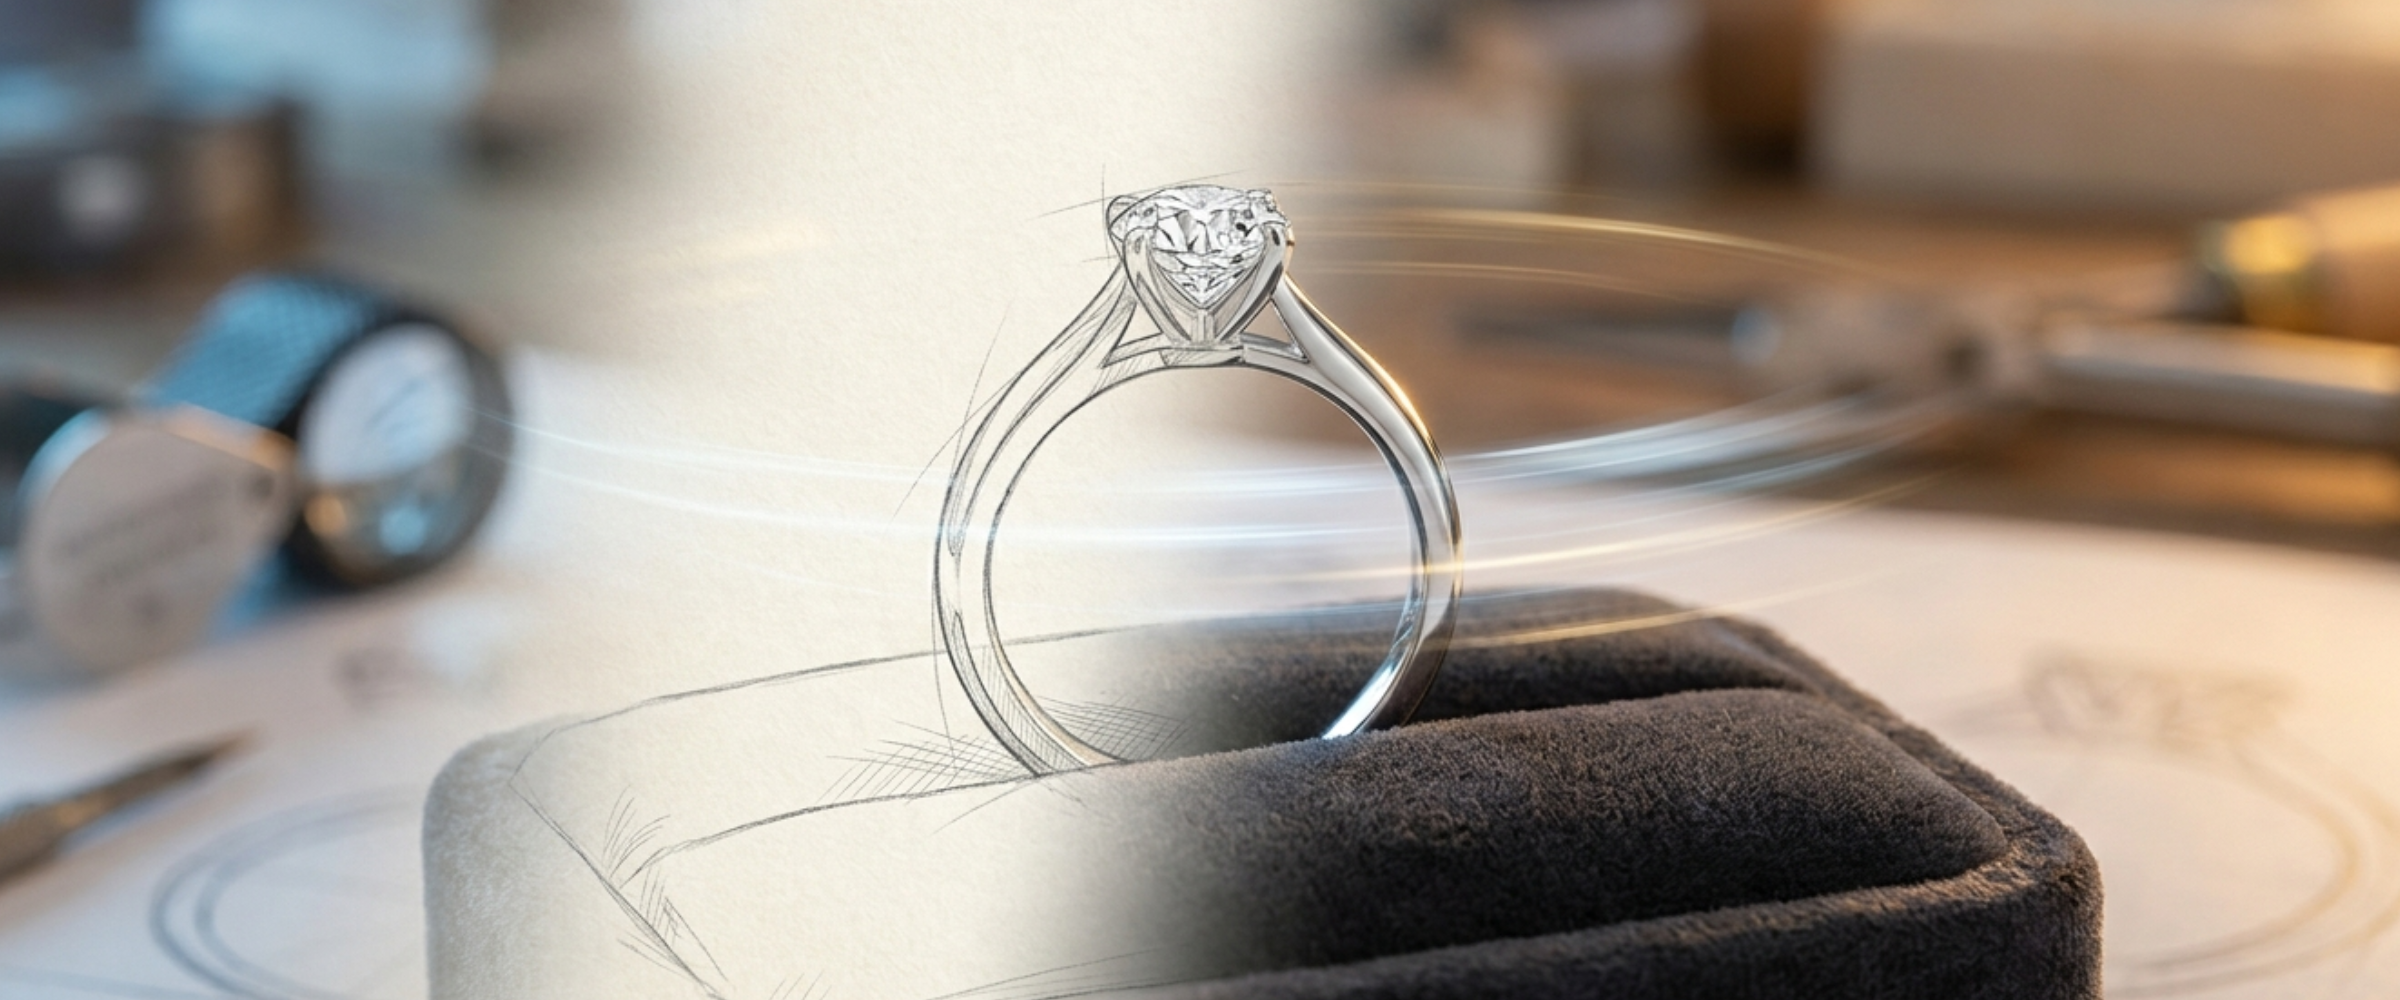
You know the feeling. You've got fifteen minutes before a client call and you need to see six ring directions, not one perfect render. Up until now, every AI jewelry design generation in Studio cost you the same, whether you were sketching out a rough idea or locking in the final piece for a catalog. That changes with the new Draft quality tier, and it's worth understanding what it actually does before you start using it.
What AI jewelry design draft mode actually changes
The Auto tool in Studio has always had a Quality selector, and until recently it topped out at three options: 1K, 2K, and 4K. Draft slots in below all of them as the fastest, lowest-cost setting. It's built for the part of the process that isn't about final output at all, it's about seeing options.
When you're deep in AI jewelry design draft mode, you're trading a bit of surface detail and render time for speed. Fine metal texture, sharp stone facets, and the last mile of photorealism are the first things to soften at Draft quality. What doesn't change is the underlying design logic. If you ask for a bezel-set oval sapphire with a twisted band, Draft mode gives you that exact design, just rendered quicker and cheaper than a 1K or 4K pass would.
That distinction matters. A lot of people assume a "fast" setting means a worse or less accurate result. It doesn't. It means a less polished result. Those are different problems, and only one of them affects whether Draft mode is useful to you.
When to use draft mode, and when not to
Draft quality earns its keep in the exploration phase. Say a client asks for "something bold, maybe a signet ring with a family crest, but I'm not sure about metal color yet." That's not a one-shot prompt, that's five or six directions you need to look at side by side. Running all of them at 4K burns credits on detail nobody's evaluating yet, because at this stage you're judging silhouette, proportion, and overall feel, not whether the prong shadows are correct.
Switch back to 1K, 2K, or 4K once a direction has actual momentum. If a client has picked a shape and you're refining the setting or checking how a specific stone cut reads, you want the detail back. Draft mode is not the setting you want for a final catalog image, a print-ready render, or anything going into a Presentation Deck. Use it to get to a decision faster, then finish the decision properly.
There's a secondary use case too: technical checks. If you're testing whether a prompt phrasing produces the right general structure before you commit to a full batch through Agent Mode, a quick Draft pass tells you in seconds whether you're on the right track. It's cheaper insurance against running twenty variations that all miss the brief.
A faster AI jewelry design workflow, start to finish
Here's roughly how this plays out for a lot of Studio users once Draft becomes part of the routine. Start a brief in Auto at Draft quality and generate three or four directions off the same prompt, tweaking a word or two each time. Pull the results into Moodboard view so you can look at them side by side without losing your place. Use Compare Variations if two options are close and you need to see the difference clearly. Once one direction stands out, or the client picks one on a call, regenerate just that variation at 2K or 4K to get a render worth sharing.
This isn't a huge workflow change. It's the same loop most designers already run, just with a cheaper first lap. The value shows up over a week or a month, not in any single generation, when you look back at how many credits went toward ideas that never left the drawing board.
If you're running Agent Mode batches or Bulk CSV Jobs, the same logic applies at scale. A Dry Run at Draft quality lets you sanity-check twenty planned prompts before spending real credits on all of them at full resolution.
Getting started
Draft mode lives right where you'd expect it, in the Quality selector on the Auto tool, alongside 1K, 2K, and 4K. There's no separate toggle to hunt for and no setup required. Open a project, pull up Auto, and pick Draft the next time you're exploring rather than finalizing.
If your team runs a lot of early-stage concepting, whether that's client discovery calls, mood exploration, or testing prompt ideas before a big batch job, this is worth building into your habits now. It won't replace 1K, 2K, or 4K for anything client-facing, but for the ten or fifteen throwaway renders that used to cost as much as the keeper, it's a straightforward win.