AI Gemstone Jewelry Design: How to Generate Sapphire, Ruby, and Emerald Pieces That Look Real
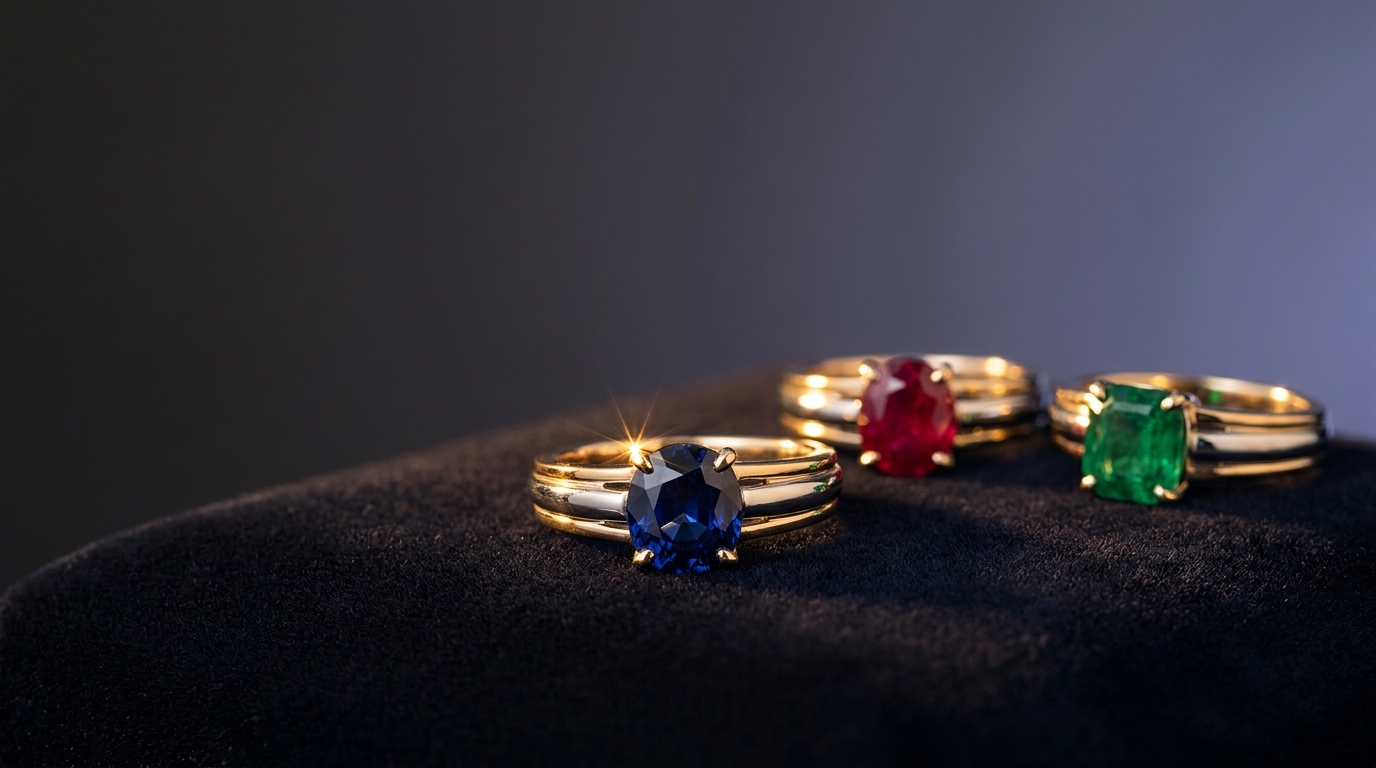
If you've ever generated a sapphire ring with AI and gotten back something that looks like a blue glass marble, you already know the problem. Colorless diamonds rely heavily on brilliance and sparkle, which most AI jewelry tools can reproduce fairly well by default. Colored gemstones are a different animal. Get the prompt wrong and you end up with washed-out color, a weird inner glow, or a stone that reads more like candy than corundum. AI gemstone jewelry design has its own rules, and once you know them, sapphire, ruby, emerald, and pearl pieces start looking like something you'd actually put in a catalog.
Here's the workflow we use in Diatech Studio to get colored stones right, plus how to price them once the design is locked.
Why AI gemstone jewelry design is harder than diamond design
Diamonds have one job in a render: sparkle and stay clear. Colored gemstones have three jobs at once. The AI has to get the hue right (a Kashmir sapphire is not the same blue as a Ceylon sapphire), the saturation right (too much and it looks like plastic, too little and it looks pale and cheap), and the way light passes through the stone right, since a ruby doesn't scatter light the same way an emerald does.
Most of the bad results we see come from prompts that only say "sapphire" or "emerald" without saying anything else. The model fills in the gaps with whatever it's seen most, which tends to skew cartoonish. Being specific fixes most of this in one pass.
Prompting for accurate gemstone color and cut
Start with the stone type, then immediately follow with a color descriptor and a cut. Don't just say "ruby ring." Say "pigeon blood red ruby, oval cut, in a yellow gold halo setting." The color adjective does a lot of work. A few that consistently produce cleaner results in our testing:
- Sapphire: royal blue, cornflower blue, or Montana blue (each looks noticeably different, so pick the one you mean)
- Ruby: pigeon blood red or vivid red
- Emerald: vivid green or forest green, and mention "included" if you want the natural jardin look rather than an unnaturally clean stone
- Pearl: freshwater white, Tahitian black, or golden South Sea, since "pearl" alone is ambiguous about size and luster
Pairing the color term with the metal tone matters too. Rose gold next to an emerald can shift how green the stone reads in the final image, so if the color looks off, try swapping the metal before you touch the stone prompt again.
Using Technicals to lock in stone specs
Once you've got a direction you like, the Technicals tool is where you stop guessing. It lets you specify stone dimensions, prong style, and metal weight targets directly, so the AI generates a design matching those exact parameters instead of interpreting a text description freehand. For colored gemstones specifically, this is the step that keeps carat size and proportions consistent across a whole collection, which matters if you're building out a colored-stone line where every piece needs to look like it belongs to the same family.
Save the prompts that work
Once you land on a sapphire or ruby prompt that produces consistent results, don't retype it every time. Save it as a snippet by going to the Manage tab in the top-left section of a project and clicking Snippets and creating one. It'll autocomplete as you type in the prompt bar, and if you mark it organization-wide, your whole team gets the same tested phrasing instead of everyone reinventing their own version of "vivid green emerald" with mixed results.
Getting multiple angles to sell the color
Color read changes a lot with angle and light position. A sapphire that looks great head-on can look almost gray from a three-quarter view. Use the Multiple Angles tool to generate front, side, and top-down versions of the same piece from the same seed design, rather than regenerating from scratch and hoping the color holds. This keeps the stone's hue consistent across every shot instead of drifting between angles, which is the kind of inconsistency clients notice even when they can't quite say what's bothering them.
Pricing colored gemstones correctly
This is the part people skip and then regret. If your org has a Price Book set up, it already supports rate rules for Ruby, Sapphire, Emerald, Pearl, and other gem types alongside Natural and Lab Grown Diamond, with rates definable by shape, color grade, clarity grade, cut grade, and size range. That means once a colored-stone design is approved, its pricing can pull from real configured rates instead of a rough visual guess.
If pricing hasn't been set up yet for a given gem type, the fields in the rate table simply act as wildcards until they are, so it's worth an admin taking ten minutes to fill in your most common colored stones before your next colored-gem project needs a quote. Manual Pricing Entry also covers stone shape, color, clarity, and carat weight directly on a project, which is the faster path if you're pricing a one-off piece rather than building out the full rate table.
A quick AI gemstone jewelry design example: a sapphire engagement ring
Put this together and a typical session looks like this. Start with a prompt like "royal blue sapphire, oval cut, white gold pave halo, engagement ring" to get your first direction. Run it through Technicals once you like the shape, locking in the carat size and band width. Save the working prompt as a snippet so the next sapphire request in your queue starts from the same baseline. Generate a couple of angles with Multiple Angles to confirm the blue holds up from the side, not just head-on. Then open Pricing and either pull from your Price Book sapphire rates or enter the stone specs manually.
That's the whole loop, and it's the same one whether you're doing rubies, emeralds, or pearls. The gem type changes, the workflow doesn't.
Colored gemstone jewelry has always been harder to photograph and harder to render than diamond pieces, mostly because color is subjective in a way clarity and sparkle aren't. Getting AI to handle that well just takes more specific prompts and the right tools to lock in what you land on. Open a project in Diatech Studio and try one of the color descriptors above on your next sapphire or ruby piece. You'll notice the difference in the first generation.