Jewelry CAD Export: How to Get From 3D Render to Manufacturing-Ready File
Related: AI jewelry design·AI jewelry CAD export
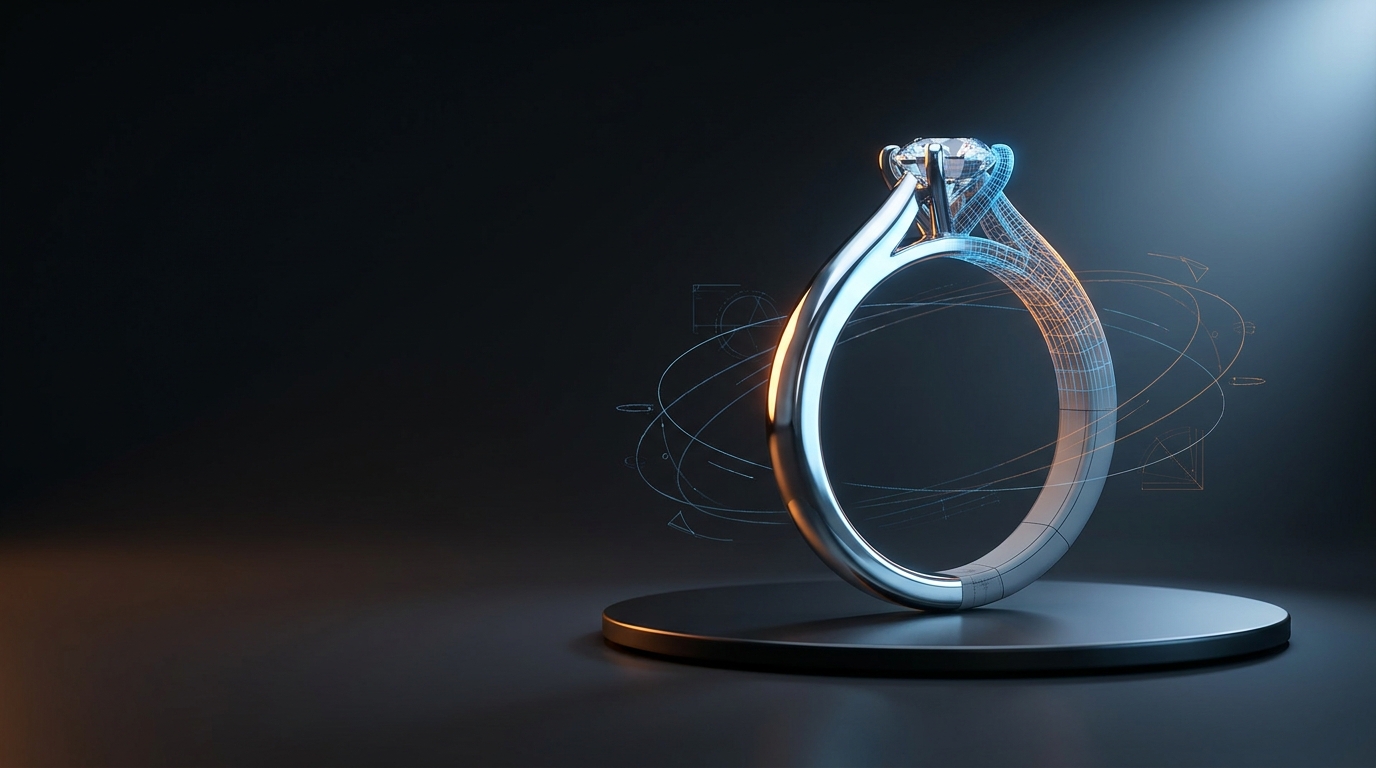
Most guides on AI jewelry design stop at the pretty render. You get a photoreal ring, you admire it, and then... nothing. Nobody at the factory can do anything with a JPEG. If you actually want that design cast, milled, or 3D printed, you need a clean, correctly formatted 3D file, and that's a completely different problem than getting a good-looking image.
This is where jewelry CAD export actually matters. It's the unglamorous last mile between "this looks amazing" and "this is ready to send to production," and it's the step most AI design tools quietly skip. Diatech Studio doesn't skip it. Once you've generated a 3D model from a design image, three tools take it the rest of the way: Clean CAD, format export, and turntable recording.
Why jewelry CAD export matters more than the render itself
A jewelry buyer can fall in love with an image. A manufacturer can't do anything with one. Every workshop, whether it's casting in-house or sending files to a third-party bench, needs a model in a format their software actually opens, with geometry that won't choke a 3D printer or throw errors in a milling program.
Raw AI-generated 3D meshes are usually messy. Triangle counts run high, surfaces aren't always symmetrical, and the file format coming out of a generation tool often isn't what your production partner asked for. That gap is exactly why "we love the design but can't use the file" is such a common (and avoidable) conversation between designers and manufacturers.
Step one: Clean CAD
Clean CAD rebuilds a model's surface using straight, symmetrical triangles instead of the somewhat chaotic mesh AI generation typically produces. The shape doesn't change. What changes is how usable the file is downstream.
A cleaned model is lighter, opens faster in other CAD software, and behaves better when it's handed off for manufacturing or further editing. If you've ever had a 3D file lag or crash a viewer because the mesh was unnecessarily dense, this is the fix, and it's a single click in the CAD viewer.
Step two: export to OBJ or STL
Once the geometry is clean, you need it in a format someone outside Studio can actually use. OBJ and STL are the two formats most CAD tools and 3D printers expect, and Studio converts to either right in the browser, with a progress indicator so you're not left guessing whether it's working.
A couple of things worth knowing before you export:
- The conversion doesn't cost credits. Only generating or downloading the original model does.
- STL is generally what you want for printing or casting. OBJ is a safer bet if the file is heading into another CAD or rendering program that expects texture and material data.
- Do the Clean CAD pass first. Exporting a messy mesh just moves the mess into a new file format, it doesn't fix it.
If your studio works with more than one manufacturing partner, it's worth asking each one which format they actually prefer before you export, since some print farms and casting houses are picky about it.
Step three: record a turntable
Once your file is manufacturing-ready, you often still need something to show a client or a buyer before the piece exists physically. That's what turntable recording is for. It exports the model as a video sequence, rendered frame by frame, up to 1,000 frames, so you get a smooth, continuous rotation instead of a handful of static angles.
There's also a stereo, side-by-side recording mode if you want a more immersive presentation, which is a nice touch for trade shows or higher-end client pitches. A live progress bar keeps you from wondering whether a long render is actually running.
This isn't just a nice-to-have. A rotating turntable video does more to sell a ring's proportions and sparkle than five still images ever will, and it costs you nothing beyond a few minutes of render time.
Putting the three together
The full jewelry CAD export workflow in Studio looks like this:
- Generate or import your 3D model.
- Run Clean CAD to rebuild the mesh.
- Export to OBJ or STL, matching whatever your manufacturer or print house needs.
- Record a turntable video for client or buyer presentation, using stereo mode if you want extra polish.
None of these steps require leaving the CAD viewer, and none of them require a separate CAD license or a render farm. That matters more than it sounds like it should. A lot of small and mid-size studios lose days waiting on an outside CAD technician just to clean up a mesh or spit out an STL, and that's time a design sits idle instead of moving toward production.
Get your next design production-ready
If you've been treating your 3D model generation as the finish line, it's worth trying the export side of the workflow on your next project. Generate a model, run it through Clean CAD, export it as an STL, and record a quick turntable before you send it anywhere. You'll notice the difference the first time a manufacturer opens the file without sending it back with questions.
Open a 3D project in Diatech Studio and give the CAD viewer's export tools a try on your next piece. It's the difference between a design that looks finished and one that actually is.
Related: AI jewelry design·AI jewelry CAD export