How to Nail Diamond Sparkle Rendering on Your AI Jewelry CAD Models
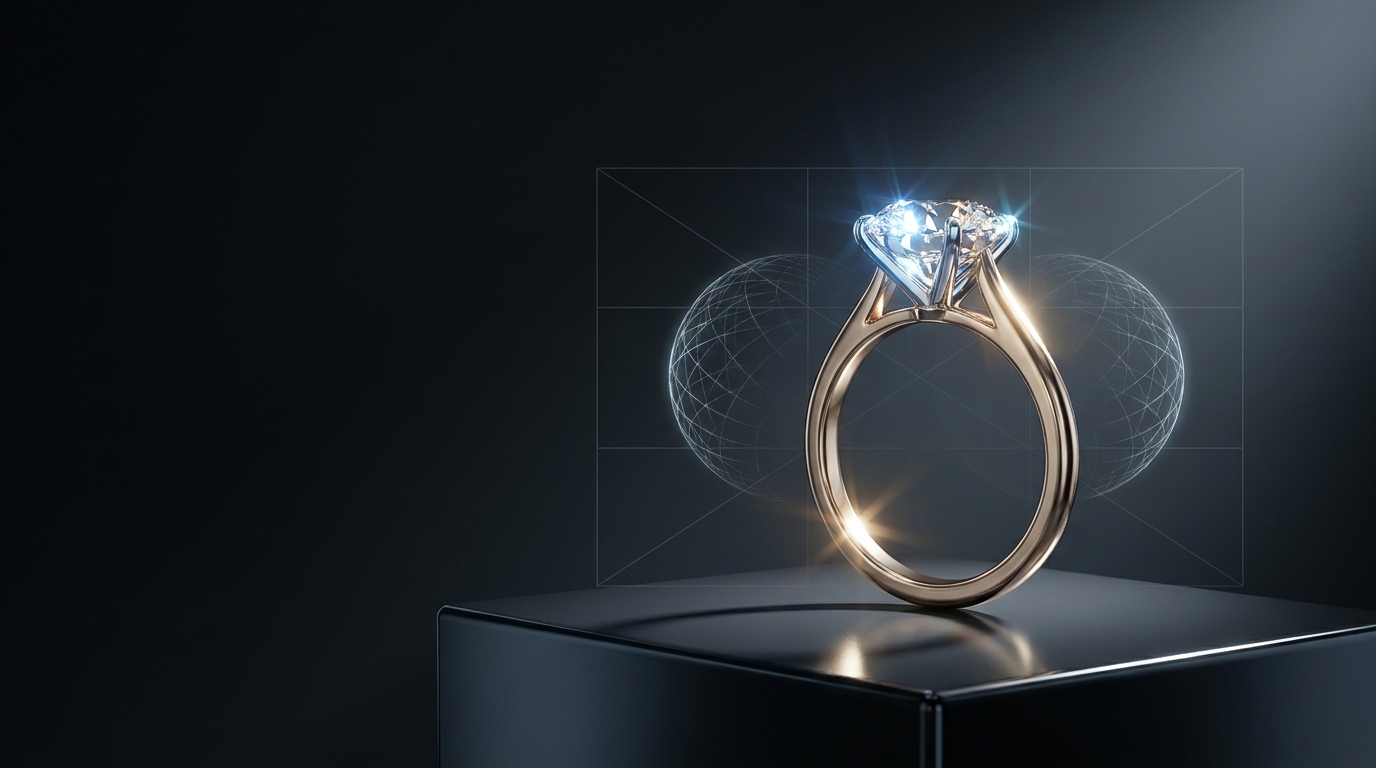
Open any AI-generated jewelry render next to a real photograph and nine times out of ten, the eye goes straight to the stone. A flat, dull diamond gives away a mockup in half a second. Real diamond sparkle rendering is one of those things that's easy to notice and genuinely hard to fake, which is exactly why it's worth spending fifteen minutes learning to control instead of leaving on default settings.
If you've generated a 3D model in Studio and opened it in the CAD viewer, you've probably already seen the sparkle sliders sitting in the sidebar. Most people skip past them. That's a mistake, because they're doing more work than almost any other control in the viewer.
Why diamond sparkle rendering is harder than it looks
A photo studio fakes sparkle with physical light: a ring light, a couple of diffused panels, maybe a small spotlight angled just right to catch a facet or two. A 3D renderer has to fake all of that with math. Get the environment lighting wrong and you end up with one of two failure modes: a stone that looks like a dead grey pebble, or one that's blown out into a white blob with no facets visible at all.
Studio's CAD viewer splits the problem into pieces you can actually reason about, instead of one giant "lighting" slider that does everything at once. That's the part worth understanding.
Start with materials before you touch lighting
Before any sparkle setting matters, the viewer needs to know which parts of your model are gems and which are metal. Use Select All Gems and Select All Metals to tag the model in a couple of clicks rather than clicking through every prong individually. It sounds like a small step, but skipping it is the number one reason a render comes out looking flat: the engine can't apply gem-specific lighting to a surface it thinks is metal.
Once materials are assigned, set your metal finish (matte or polished) and pick colors for both gem and metal, including a custom HEX value if you need to match an exact house tone of white gold or rose gold.
Gem environments do the heavy lifting
This is the part most people never open. Gem environments are a gallery of preset lighting scenes built specifically for how diamonds and gemstones catch and bend light. Click through a few thumbnails and you'll notice the same stone looks completely different depending on which one you pick, sometimes brighter, sometimes with more contrast between facets.
Two things to play with once you've picked one you like:
- Intensity controls how strongly the environment drives sparkle and reflections. Push it too far and you lose facet definition; too low and the stone looks dead again.
- Gem Env Rotation turns the lighting around the stone independently of everything else in the scene. This is the fastest way to steer where the sparkle "hits" in a render without disturbing your camera angle or the rest of the lighting setup.
I'd genuinely recommend spending a few minutes just rotating the gem environment on one stone before you touch anything else. It's the single biggest lever for diamond sparkle rendering in the whole viewer.
Sparkle Intensity, Threshold, and Size
Below the environment picker sit four more specific controls: Sparkle Intensity, Sparkle Threshold, Sparkle Size, and Gem Glow.
Threshold is the one people usually get wrong first. It sets how bright a facet flash has to be before it actually blooms into a visible sparkle. Set it too low and every tiny reflection turns into a starburst, which reads as noisy and fake. Set it too high and you lose the little flashes that make a diamond look alive. Nudge it in small increments and watch how the sparkle count changes on screen in real time.
Gem Glow adds a soft photographic halo around stones, which is subtle but does a lot to sell realism, especially in wider shots where the stone is smaller in frame.
Don't forget the metal
It's tempting to spend all your time on the stone and treat the metal as an afterthought, but a dull band under a sparkly diamond looks just as wrong as the reverse. Metal environments work the same way as gem environments: a gallery of presets tuned for polished gold and platinum surfaces, with their own separate intensity control. Because gem and metal environments are independent, you can push sparkle hard on the stone while keeping the metal reflections calmer, which is usually what a real photograph looks like anyway.
Lock your angle before you present anything
Sparkle looks different from every camera position, so it's worth setting your final angle before you fine-tune lighting rather than after. The angle presets (Isometric, Side, Front, Top, Back) are a fast way to get to a standard view, and the camera panel lets you adjust rotation and field of view from there. If you're doing a flat-back design, the Elevation control adjusts vertical depth and is worth checking specifically for those pieces, since sparkle reads very differently on a shallow profile.
The good news: you only do this once per project
Everything you set here, materials, gem and metal environments, sparkle values, camera position, gets saved with the project automatically. You don't need to redo the setup every time you reopen it. That means the fifteen minutes you spend dialing in diamond sparkle rendering on your first piece from a collection can effectively become your starting template for the rest of the batch.
Next time you open a 3D model in Studio, skip the default view and go straight to the gem environment gallery. Try two or three presets, adjust the sparkle threshold until the facets look right at your actual presentation angle, and you'll have a render that holds up next to a real photograph instead of screaming "3D mockup" the second a client opens it.